Quickstart
This is the whole setup path, condensed. Each step tells you what to do and what “done” looks like; the links carry the detail.
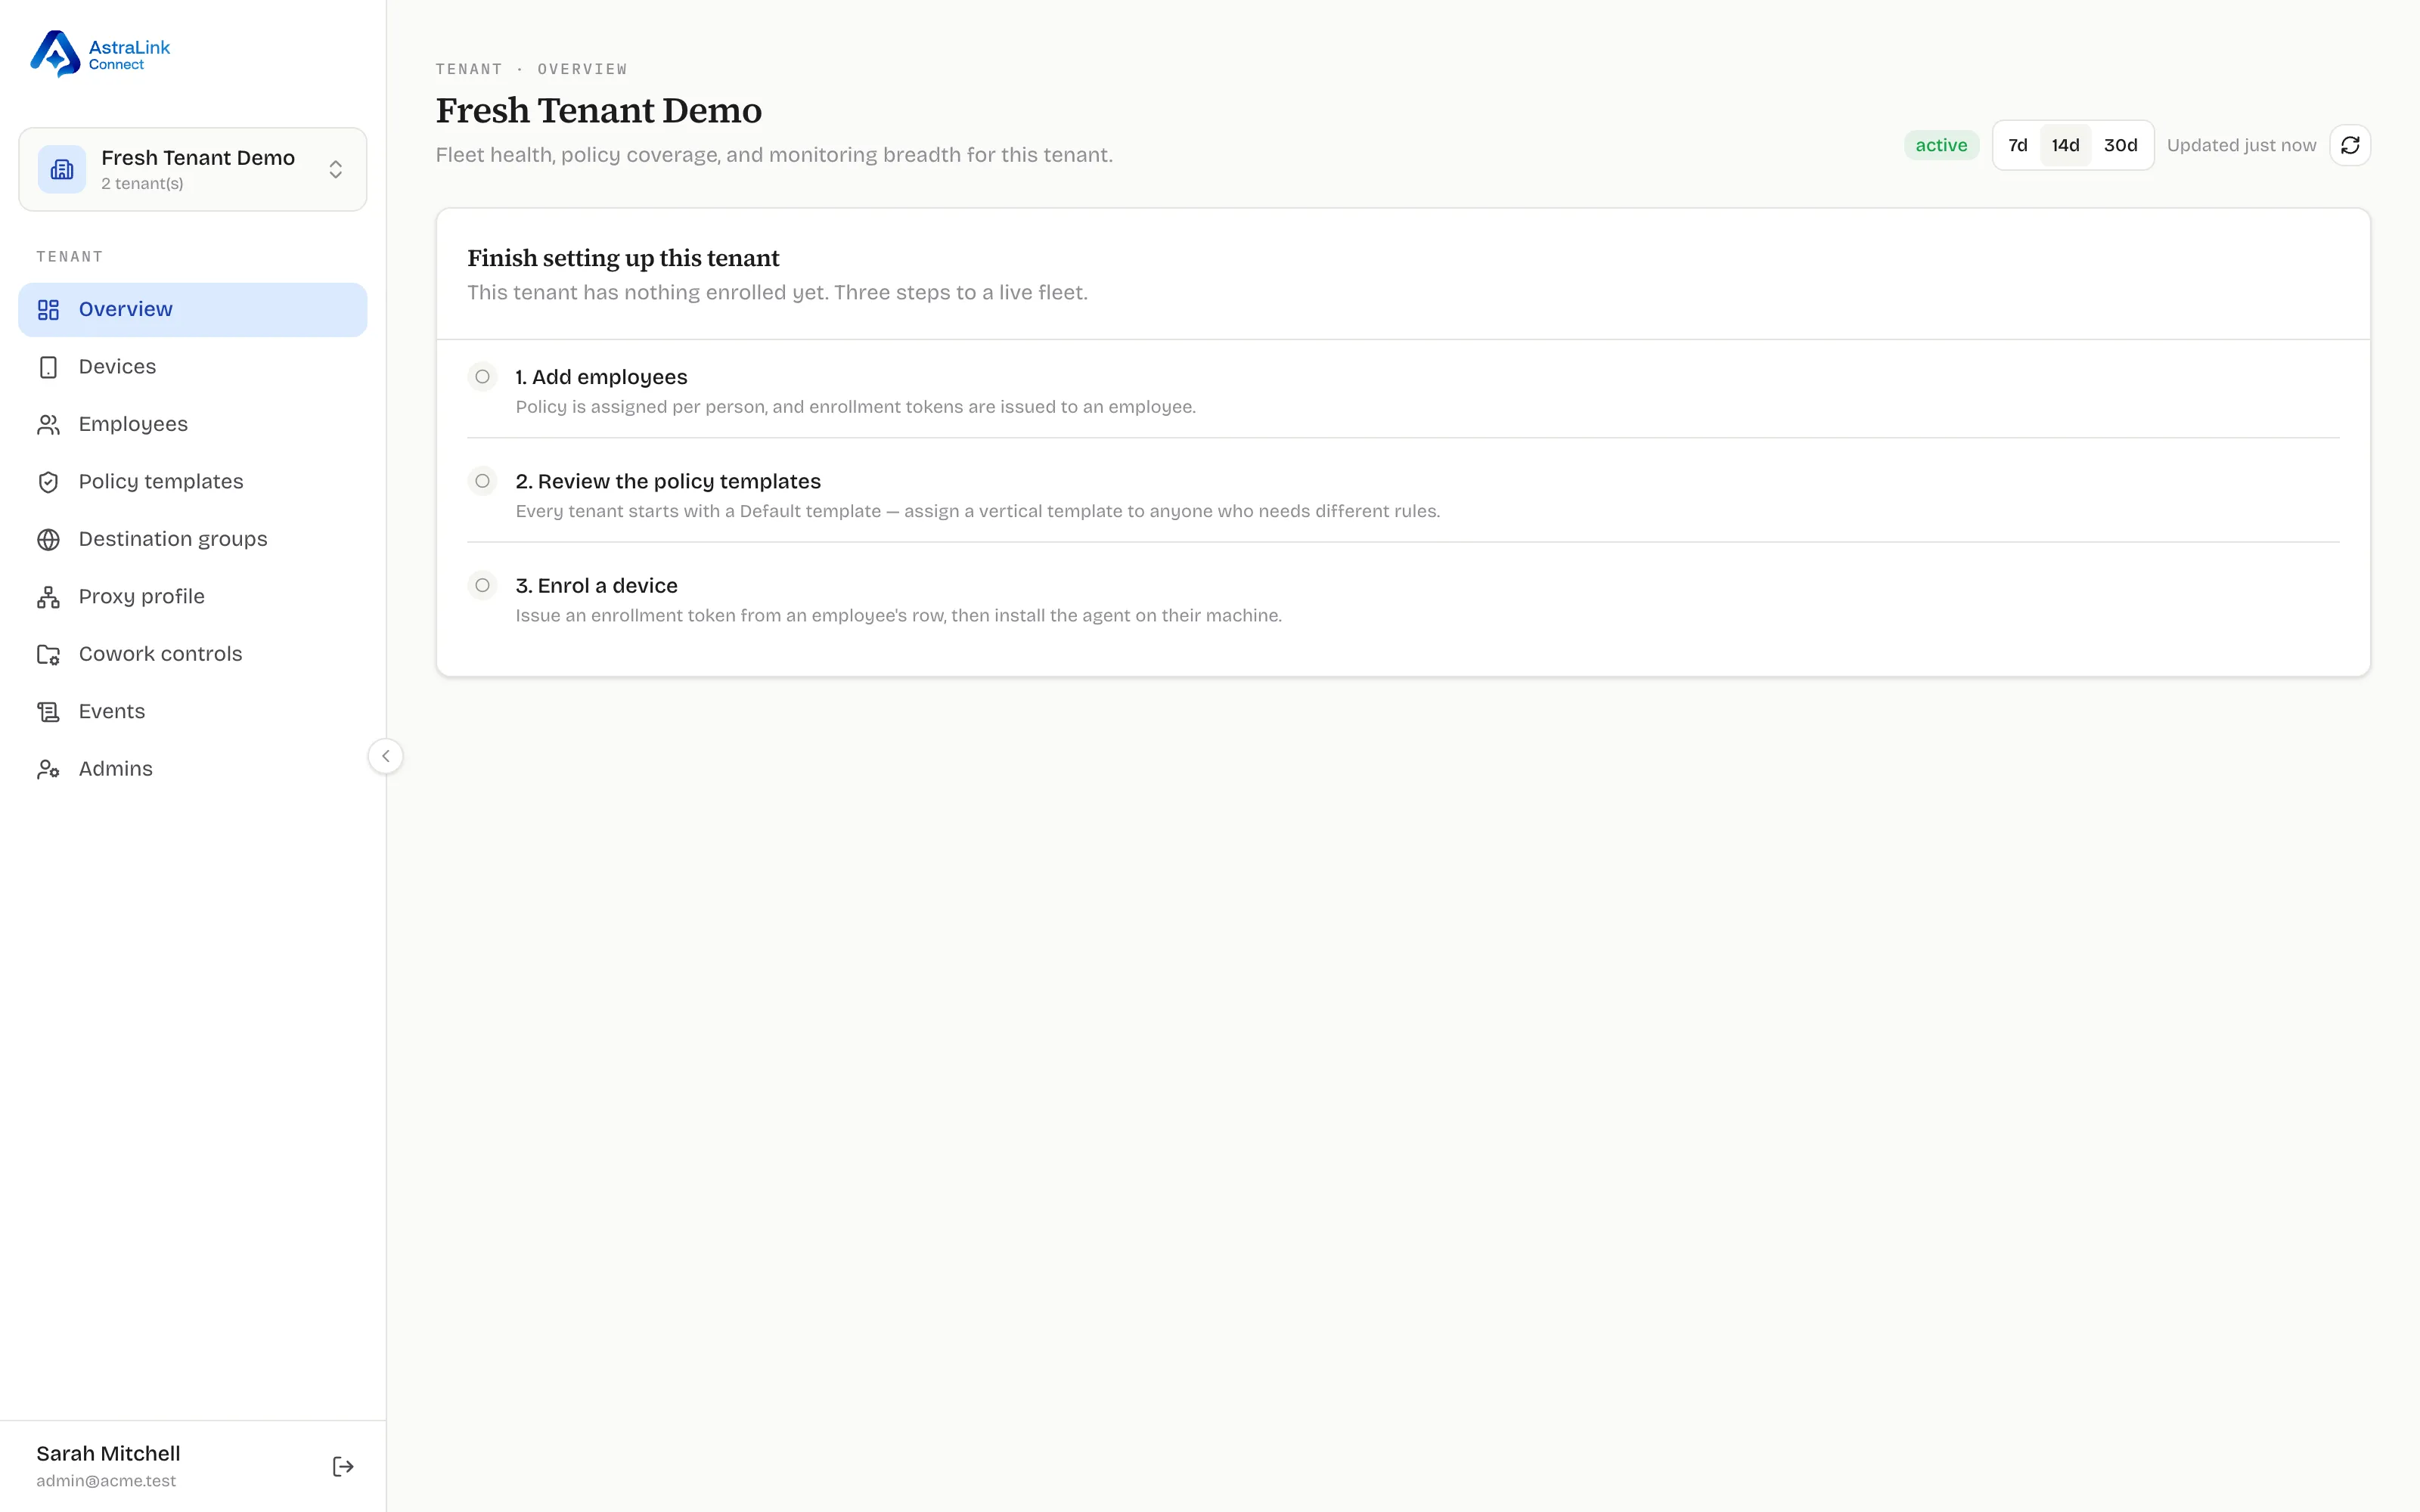
A brand-new organization shows this checklist on its Overview page instead of an empty dashboard — the order below is the order the product expects:
-
Add your people.
Open Employees and add each person with their work email. Devices belong to employees, and every enrollment credential is issued to an employee, so this genuinely has to come first. Details: Employees
-
Review the policy templates.
Every organization starts with a Default template plus vertical templates (Accounting & Finance, Financial Services, Healthcare, Legal, and more). Anyone you don’t explicitly assign uses Default — so read what Default enforces before the first device enrolls, and assign verticals where they fit. Details: Policy concepts
-
Enroll each Mac.
Pick a path per employee: an install link (no MDM needed), a one-time enrollment token (hands-on installs), or a per-employee MDM profile (Jamf/Intune fleets). Done = the device appears on the Devices page. Details: Enrolling devices
-
Turn interception on.
Download the Proxy profile and push it through your MDM at device scope — the agent ships inert until this profile lands. Each device then needs its interception certificate trusted: by default the employee approves it once (Tier L), or you push that device’s CA certificate profile through MDM (Tier M). Details: Proxy profile, CA trust tiers
-
Grant Input Monitoring on each machine.
The one step no profile or MDM can do: a person must enable Input Monitoring once per Mac (System Settings → Privacy & Security). Until then that device runs in a reduced mode and honestly reports it.
-
Watch the Devices page until everything is green-or-explained.
Every column is a self-reported status with an honest vocabulary — what each badge means and what to do about it is in Device statuses.
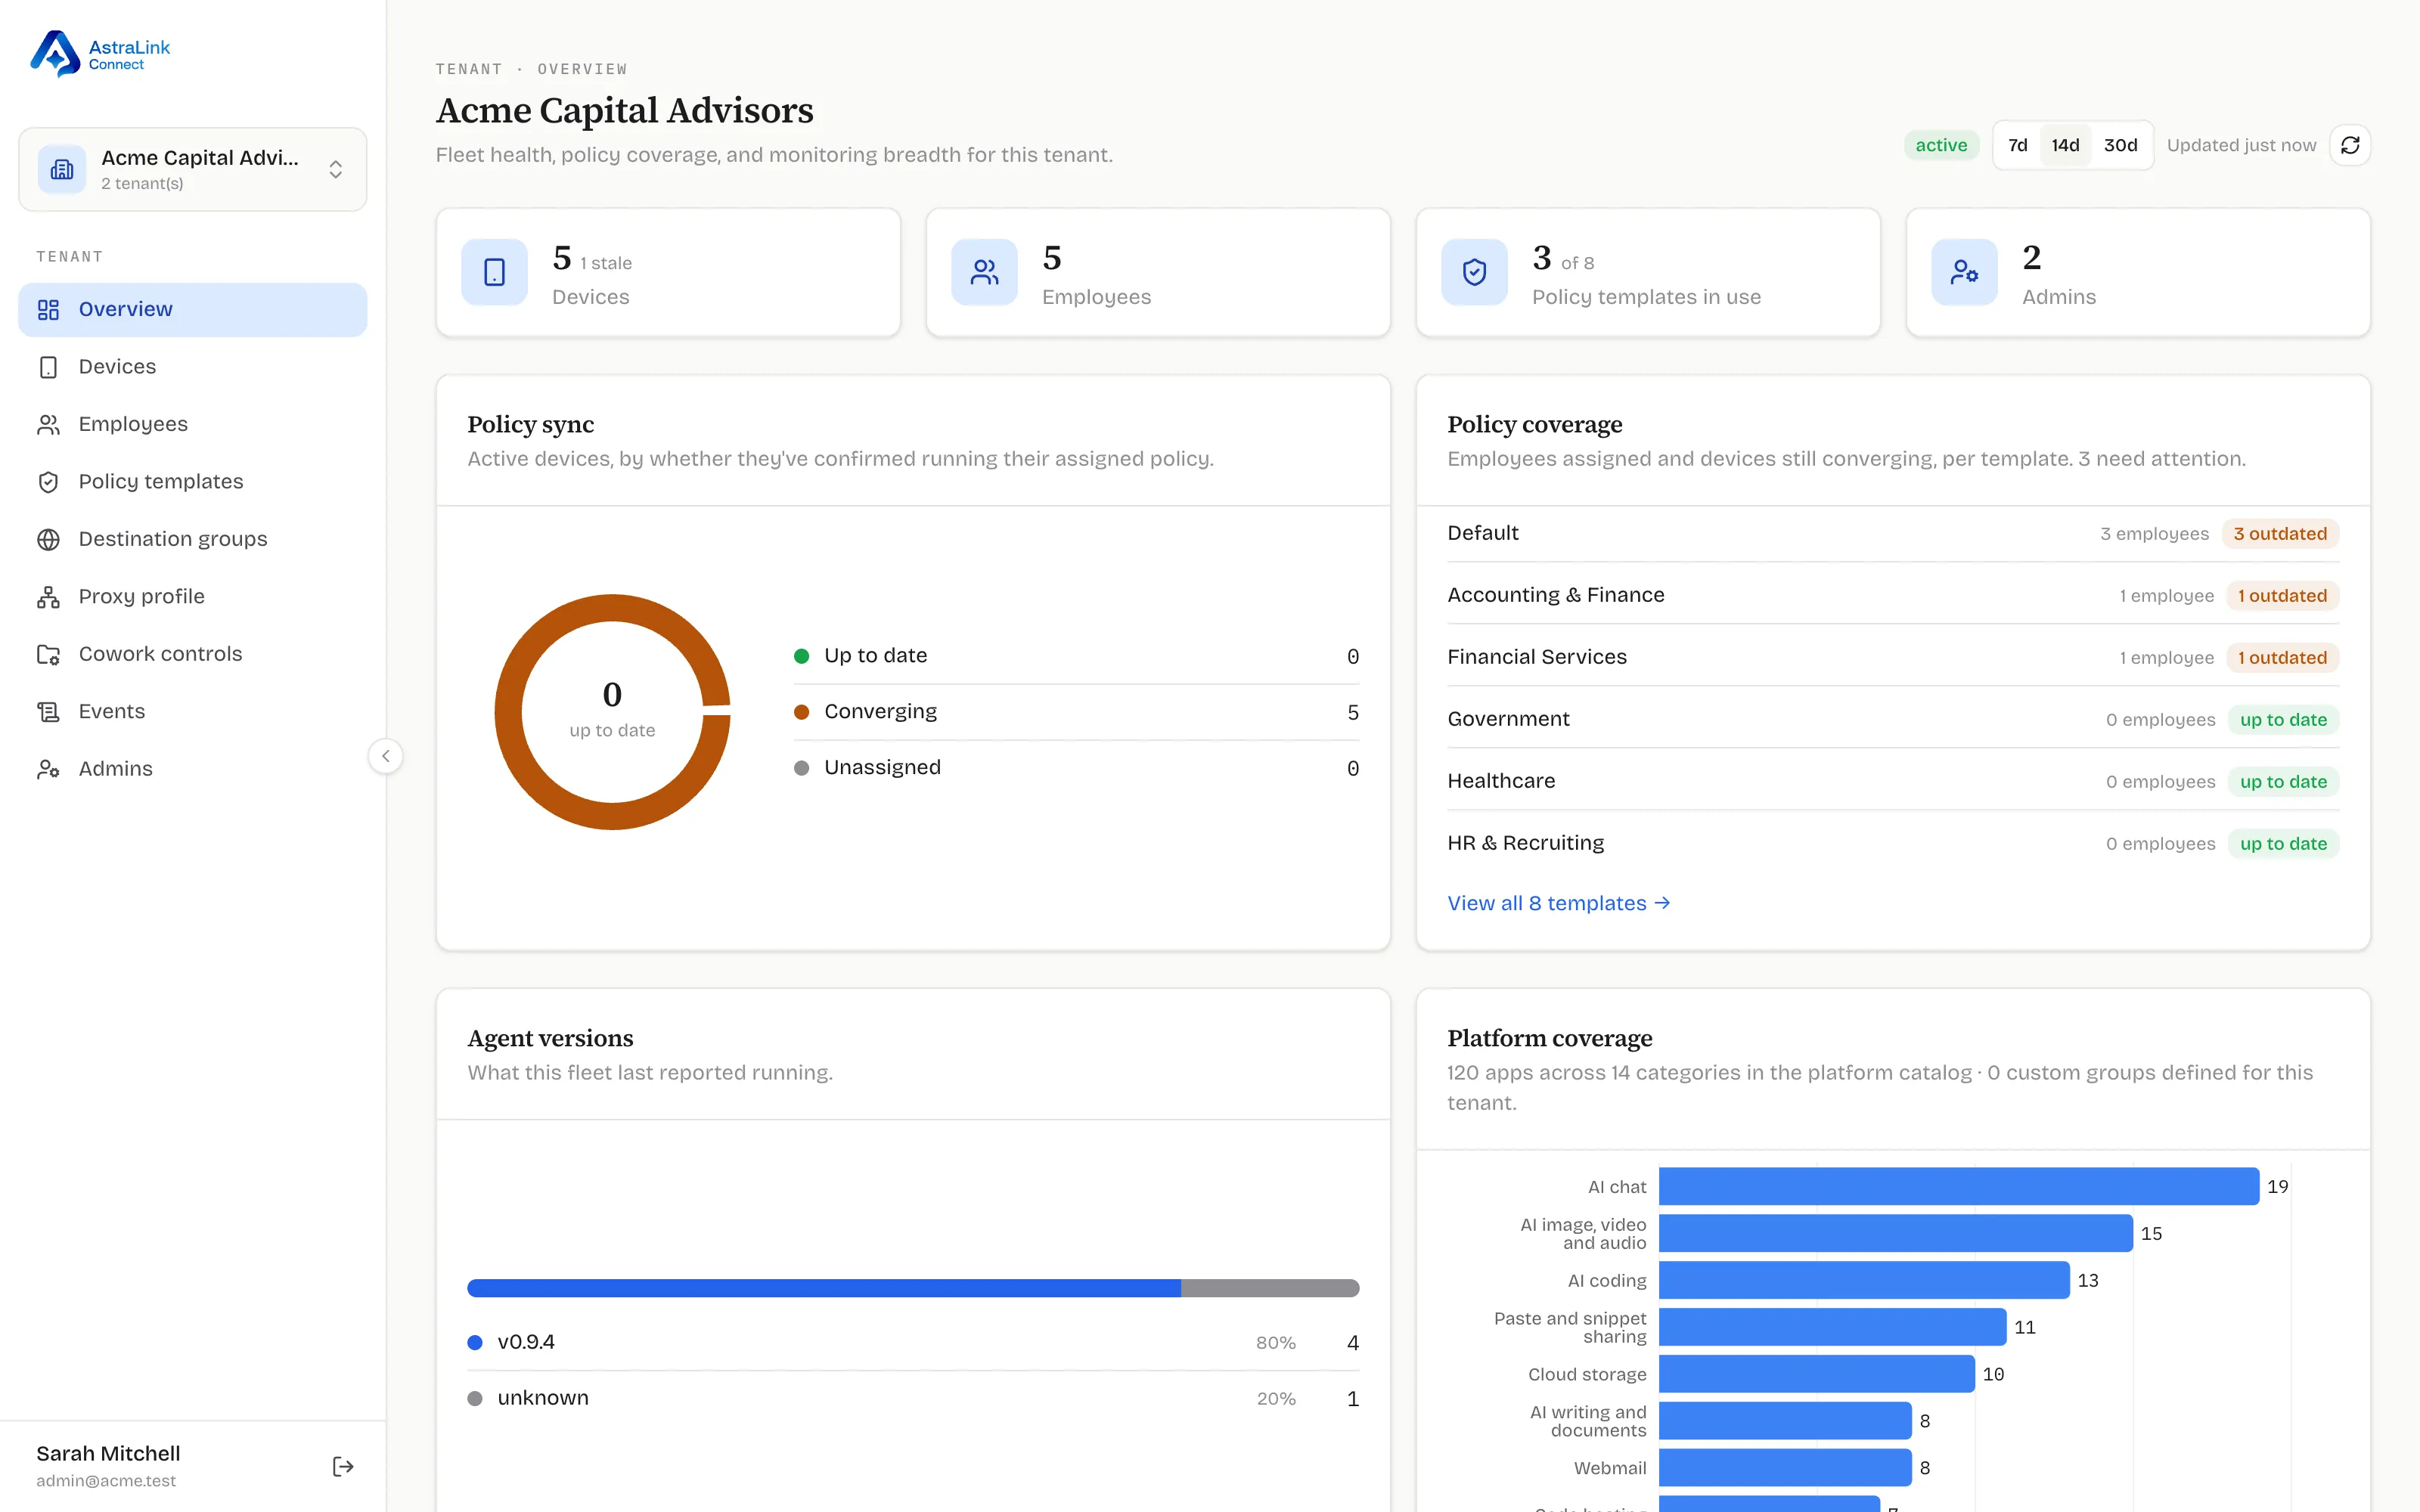
Once the first device reports in, the checklist is replaced by the real dashboard: